Tile Calculator Flooring Guide: Complete Coverage & Cost Planning 2025
Master tile calculations with our comprehensive guide. Learn precise coverage formulas, waste factors, layout patterns, installation techniques, and cost estimation for perfect flooring, backsplash, and wall tiling projects.
Why Accurate Tile Calculations Are Essential for Project Success
Proper tile calculation ensures you purchase the right quantity while minimizing waste and avoiding project delays. Under-ordering requires additional trips and risks color/batch variations, while over-ordering wastes money on expensive materials. In 2025, with quality tiles ranging from $2-25 per square foot, precision saves hundreds on large projects.
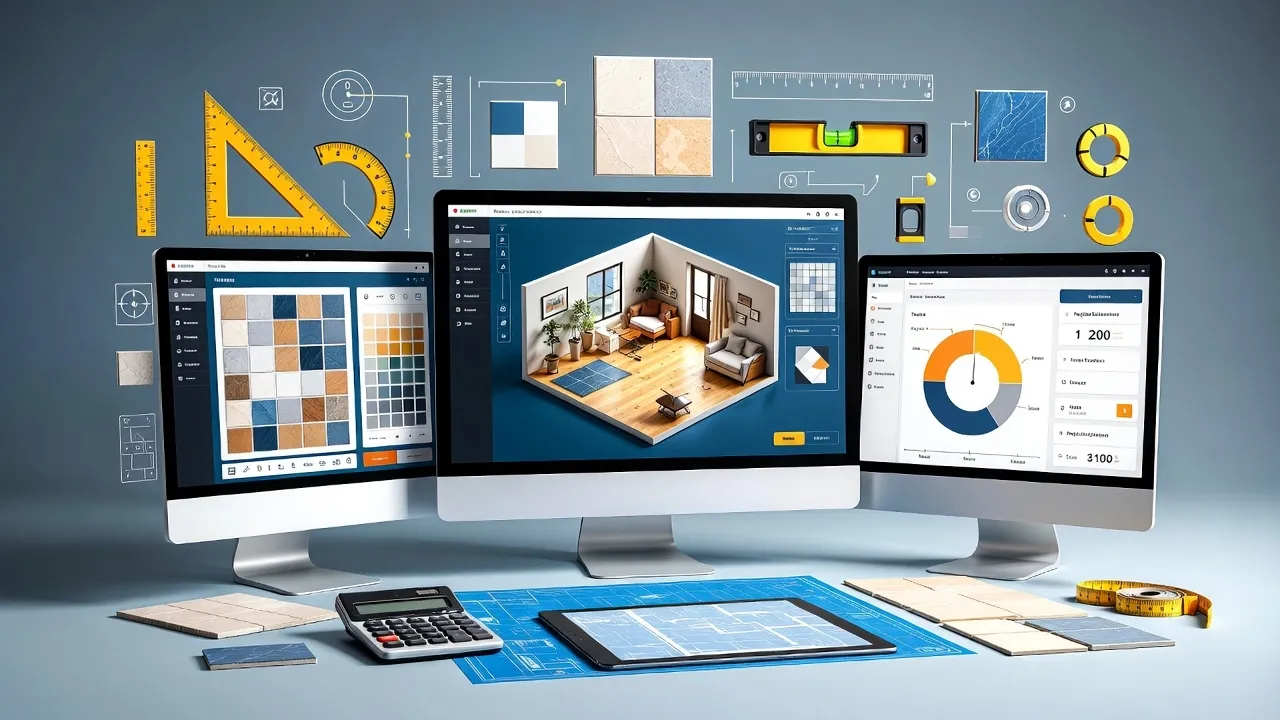
Our Tile Calculator provides instant quantity estimates and cost planning for any flooring, wall, or backsplash tiling project.
How to Calculate Tile Quantities for Flooring Projects
Follow this systematic approach to determine exact tile requirements for any floor:
Step-by-Step Tile Calculation:
1. Measure Your Floor Area
- Rectangular rooms: Length × Width = Square footage
- L-shaped rooms: Break into rectangles, calculate each, then add
- Irregular shapes: Use grid method or break into simple shapes
- Measure twice: Accuracy prevents costly mistakes
2. Calculate Individual Tile Coverage
- Square tiles: Length × Width (in feet) = Coverage per tile
- Rectangular tiles: Convert inches to feet for calculations
- Large format tiles: May cover multiple square feet per tile
- Mosaic sheets: Check coverage per sheet specifications
3. Apply the Tile Quantity Formula
Essential Tile Formulas:
Basic calculation: Room sq ft ÷ Tile coverage = Tiles needed
With waste factor: Tiles needed × (1 + waste %) = Total tiles
Box calculation: Total tiles ÷ Tiles per box = Boxes needed (round up)
Sample Floor Calculation
Room: 10 ft × 12 ft = 120 sq ft
Tile size: 12" × 12" = 1 sq ft per tile
Base tiles: 120 ÷ 1 = 120 tiles
With 10% waste: 120 × 1.10 = 132 tiles
Boxes needed: 132 ÷ 10 per box = 14 boxes
Quick Tile Reference
6"×6" tiles: 4 tiles per sq ft
12"×12" tiles: 1 tile per sq ft
18"×18" tiles: 0.44 tiles per sq ft
24"×24" tiles: 0.25 tiles per sq ft
Tile Sizes and Coverage Calculations
Understanding different tile sizes helps choose the right option and calculate accurately:
| Tile Size | Coverage per Tile | Tiles per Sq Ft | Best Applications | Waste Factor |
|---|---|---|---|---|
| 4" × 4" | 0.11 sq ft | 9 tiles | Accent walls, small bathrooms | 15% |
| 6" × 6" | 0.25 sq ft | 4 tiles | Bathrooms, backsplashes | 10-15% |
| 8" × 8" | 0.44 sq ft | 2.25 tiles | Small to medium rooms | 10% |
| 12" × 12" | 1.0 sq ft | 1 tile | Most popular, versatile | 10% |
| 18" × 18" | 2.25 sq ft | 0.44 tiles | Large rooms, modern look | 10-15% |
| 24" × 24" | 4.0 sq ft | 0.25 tiles | Open spaces, minimal grout | 15% |
| 12" × 24" | 2.0 sq ft | 0.5 tiles | Modern, elongated look | 15% |
Tile Layout Patterns and Waste Factors
Low Waste Patterns (10%)
- Straight/Grid: Tiles aligned in rows and columns
- Brick/Offset: Each row offset by half a tile
- Stack Bond: Tiles aligned perfectly in grid
- Large format: Fewer cuts needed
High Waste Patterns (15-25%)
- Diagonal: 45-degree angle installation
- Herringbone: Interlocking zigzag pattern
- Basketweave: Alternating tile orientations
- Complex borders: Decorative trim patterns
Backsplash and Wall Tile Calculations
Vertical tiling requires different measurement techniques and considerations:
Kitchen Backsplash Measurements
Standard Backsplash Calculation:
- Height: Typically 18-24 inches from counter to cabinets
- Length: Total linear feet of countertop areas
- Subtract openings: Windows above sink, outlets, switches
- Add returns: Side walls and peninsula ends
| Kitchen Size | Linear Feet | Backsplash Height | Total Sq Ft | 12×12 Tiles Needed |
|---|---|---|---|---|
| Small (8×10) | 25 linear ft | 18 inches | 37.5 sq ft | 42 tiles (with 10% waste) |
| Medium (10×12) | 32 linear ft | 20 inches | 53 sq ft | 59 tiles (with 10% waste) |
| Large (12×15) | 42 linear ft | 22 inches | 77 sq ft | 85 tiles (with 10% waste) |
Bathroom Wall Tile Planning
Shower Enclosure
- Standard: 32" × 60" base
- Height: 8 feet to ceiling
- Three walls: Two ends + back wall
- Subtract: Plumbing fixtures, niches
Tub Surround
- Standard tub: 30" × 60" base
- Height: 6-8 feet above tub
- Three walls: Calculate each separately
- Include: Tub deck area if tiling
Full Bathroom Walls
- Wainscot: 3-4 feet high typical
- Full height: Floor to ceiling (8 ft)
- Perimeter: All four walls
- Openings: Door, window, medicine cabinet
Tile Installation Costs and Budget Planning
Understanding installation costs helps plan realistic budgets and choose appropriate materials:
Complete Tile Project Cost Breakdown:
Material Costs
- Ceramic tiles: $0.50-5/sq ft
- Porcelain tiles: $2-15/sq ft
- Natural stone: $4-25/sq ft
- Designer tiles: $8-50+/sq ft
- Grout & adhesive: $0.50-1.50/sq ft
Installation Costs
- Basic ceramic: $3-6/sq ft labor
- Porcelain/stone: $5-10/sq ft labor
- Complex patterns: $8-15/sq ft labor
- Wall/backsplash: $4-12/sq ft labor
- Prep work: $2-5/sq ft additional
DIY vs. Professional Installation Comparison
| Project Type | DIY Material Cost | Professional Total | DIY Savings | Skill Level |
|---|---|---|---|---|
| Bathroom floor (50 sq ft) | $150-400 | $500-1,200 | $350-800 | Beginner-Intermediate |
| Kitchen backsplash (60 sq ft) | $180-600 | $600-1,500 | $420-900 | Intermediate |
| Living room floor (300 sq ft) | $900-2,400 | $2,400-6,000 | $1,500-3,600 | Intermediate-Advanced |
| Master bath (150 sq ft) | $450-1,800 | $1,500-4,500 | $1,050-2,700 | Advanced |
DIY Installation Requirements
- Tools needed: Tile cutter, level, trowel, spacers, float, sponges ($200-500 investment)
- Time investment: 2-3x longer than professional installation
- Skill development: Practice on small areas first
- Quality results: Professional installation often includes warranty and expertise
Tile Material Types and Selection Guide
Choosing the right tile type affects both calculation methods and project outcomes:
Popular Tile Materials Comparison
| Material | Water Absorption | Durability | Cost Range | Best Applications | Maintenance |
|---|---|---|---|---|---|
| Ceramic | 7-20% | Good | $0.50-5/sq ft | Interior walls, light floors | Low |
| Porcelain | 0.5-3% | Excellent | $2-15/sq ft | All applications | Low |
| Natural Stone | 0.2-20% | Variable | $4-25/sq ft | High-end applications | Medium-High |
| Glass | 0% | Good | $5-30/sq ft | Backsplashes, accents | Medium |
| Metal | 0% | Excellent | $8-40/sq ft | Modern accents | Medium |
Specialty Tile Considerations
Large Format Tiles
- Advantages: Fewer grout lines, modern look
- Installation: Requires perfectly flat surface
- Cutting: Specialized tools needed
- Waste factor: 15-20% due to size
Mosaic Tiles
- Coverage: Sold by sheet (1 sq ft typical)
- Installation: Easier than individual small tiles
- Design options: Unlimited patterns and colors
- Cost: Higher per sq ft but easier installation
Common Tile Calculation Mistakes and How to Avoid Them
Learning from common errors saves money and prevents project delays:
Measurement Errors
- Forgetting to convert inches to feet in calculations
- Not accounting for irregular room shapes and alcoves
- Measuring fixtures instead of subtracting them from total area
- Ignoring wall thickness at doorways and openings
- Not measuring from longest walls for layout planning
- Failing to account for tile thickness at transitions
Planning and Purchasing Mistakes
Under-Ordering Problems
- Insufficient waste factor for skill level
- Not buying extra for future repairs
- Forgetting border or trim tiles
- Underestimating complex pattern waste
- Not accounting for broken tiles during transport
Over-Ordering Issues
- Using excessive waste factors
- Not researching tile coverage specifications
- Buying based on gross area without subtractions
- Not understanding tile packaging quantities
- Purchasing without final layout plan
Professional Calculation Tips
- Create a layout plan showing tile placement before ordering
- Buy from a single lot to ensure color consistency
- Order 5-10% extra tiles for future repairs
- Verify tile dimensions as actual sizes may vary slightly
- Use graph paper to scale and plan complex layouts
Frequently Asked Questions
Ready to Calculate Your Tiles?
Use our professional tile calculator for instant quantity estimates and cost planning for any flooring, backsplash, or wall tiling project.
Calculate Tiles Now