JPG Quality Settings Explained
Master the art of JPEG compression to achieve the perfect balance between quality and file size
Understanding JPEG Compression
JPEG (Joint Photographic Experts Group) uses lossy compression to reduce file sizes by selectively removing image data that the human eye is less likely to notice. The quality setting determines how much data is removed during compression.
Lossy Compression
Permanently removes some image data to achieve smaller file sizes. Use our Image Compressor to see lossy compression in action.
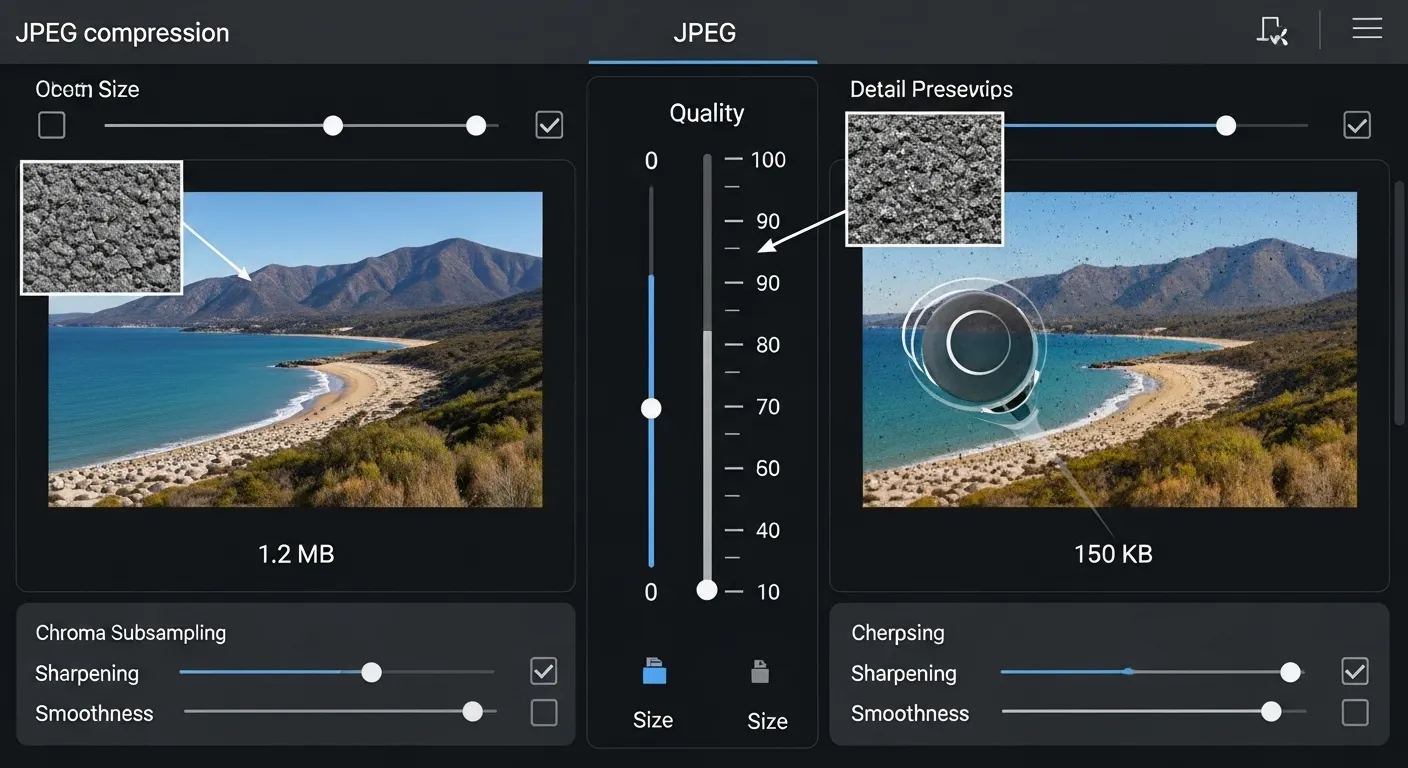
Quality vs Size
The eternal trade-off between visual quality and file size
Quality Scale Breakdown
JPEG quality is typically measured on a scale from 0-100, where 100 represents the highest quality (least compression) and 0 represents the lowest quality (most compression).
90-100% Quality - Maximum Quality
Best for: Professional photography, print materials, archival storage
File size: Very large (minimal compression)
Visual quality: Excellent, virtually no visible artifacts
Advantages:
- Preserves fine details
- No visible compression artifacts
- Suitable for further editing
Disadvantages:
- Very large file sizes
- Slow loading on web
- Unnecessary for most web use
70-89% Quality - High Quality
Best for: Web images, social media, general photography
File size: Medium (good compression ratio)
Visual quality: Very good, minimal visible artifacts
Advantages:
- Good balance of quality and size
- Suitable for most web applications
- Fast loading times
Considerations:
- Some detail loss in complex areas
- May show artifacts under close inspection
50-69% Quality - Medium Quality
Best for: Thumbnails, preview images, email attachments
File size: Small (significant compression)
Visual quality: Acceptable for small displays
Advantages:
- Very fast loading
- Small storage requirements
- Good for bandwidth-limited situations
Disadvantages:
- Visible compression artifacts
- Loss of fine details
- Not suitable for large displays
10-49% Quality - Low Quality
Best for: Placeholder images, very small thumbnails, emergency use
File size: Very small (maximum compression)
Visual quality: Poor, significant artifacts visible
Advantages:
- Extremely small file sizes
- Instant loading
- Minimal bandwidth usage
Disadvantages:
- Severe quality degradation
- Obvious compression artifacts
- Unprofessional appearance
The Non-Linear Relationship: Quality vs. File Size
A common misconception is that the relationship between quality percentage and file size is linear. Many assume that a 90% quality setting produces a file 10% smaller than a 100% quality setting. This is incorrect.
Due to how the JPEG compression algorithm groups and discards data, reducing the quality from 100 to 90 can cut your file size by 50% to 70% with virtually no visual difference.
Visual Quality Benchmarks Table
Here is a real-world example of file sizes at different quality levels for a standard 1000×667px color photograph:
| Quality Level | File Size (1000x667px) | Size Reduction (vs 100%) |
|---|---|---|
| 100% (Maximum) | ~450 KB | Baseline (0%) |
| 95% (Excellent) | ~180 KB | -60% |
| 80% (Very Good) | ~65 KB | -85% |
| 60% (Acceptable) | ~35 KB | -92% |
Compress Images Now →
JPG Quality Settings by Software
One of the most confusing aspects of JPG compression is that every software application uses a different quality scale. Here is how the most popular tools map to the standard 0-100% scale.
| Software | Quality Scale | Recommended Setting | Equivalent % |
|---|---|---|---|
| Photoshop (Save As) | 0–12 | 10–11 | ~90–95% |
| Photoshop (Export As) | 0–100% | 80–90% | 80–90% |
| Lightroom | 0–100% | 80~85% | standard |
| GIMP | 0–100 | 85–90 | 85–90% |
| Canva | Low/Med/High | High | ~90% |
| Camera firmware | Fine/Normal/Basic | Fine | ~90–95% |
Need to convert from another format to JPG at the right quality? Use our free Image Converter with quality control →
The Re-Saving Problem (Generation Loss)
Every time you open, edit, and re-save a JPG file, it undergoes another round of compression. This is known as "generation loss."
Because JPG is a lossy format, saving a JPG that was already saved as a JPG compounds the compression artifacts. Never use JPG as your working file format for ongoing edits. If you need to resize your image before the final export, use our Image Resizer — it processes the original pixels in one pass, avoiding generation loss entirely.
Best Practice Workflow
- Keep your original files in a lossless format like RAW, PSD, or PNG.
- Do all your editing on this lossless master file.
- When ready, convert to JPG as the final step — choosing the right quality setting from this guide.
- Need to compress further? Run it through our Image Compressor for one-pass optimization.
Choosing the Right Quality Setting
Decision Matrix
| Use Case | Recommended Quality | Reasoning | Expected File Size |
|---|---|---|---|
| Professional Photography | 90-100% | Maximum detail preservation | 2-5MB |
| Print Materials | 85-95% | High quality for physical output | 1-3MB |
| Website Hero Images | 75-85% | Balance quality and loading speed | 300-800KB |
| Blog Post Images | 70-80% | Good quality, reasonable file size | 200-500KB |
| Social Media | 65-75% | Platform compression consideration | 150-400KB |
| Product Thumbnails | 60-70% | Small display size, fast loading | 50-150KB |
| Email Attachments | 50-65% | Size limitations, preview quality | 100-300KB |
| Placeholder Images | 30-50% | Temporary use, fast loading | 20-100KB |
Factors Affecting Quality Perception
Image Content
Different types of images respond differently to compression.
- Photographs: Handle compression well
- Graphics with text: Show artifacts easily
- High contrast images: More visible compression
- Gradients: May show banding at low quality
Display Context
Where and how the image is viewed affects quality requirements.
- Large displays: Need higher quality
- Mobile screens: Can use lower quality
- Thumbnails: Quality less critical
- Full-screen viewing: Requires high quality
Viewing Distance
How close viewers are to the image affects quality needs.
- Close inspection: Requires high quality
- Normal viewing: Medium quality acceptable
- Background images: Lower quality often fine
- Print viewing: Needs highest quality
Bandwidth Constraints
Connection speed affects optimal quality choice.
- Fast connections: Can handle higher quality
- Mobile data: Prefer smaller files
- Slow connections: Prioritize loading speed
- International users: Consider data costs
Advanced Quality Optimization
Progressive JPEG
Progressive JPEGs load in multiple passes, showing a low-quality version first that gradually improves. This provides better perceived performance.
Benefits:
- Better perceived loading speed
- Users see content immediately
- Improved user experience
Considerations:
- Slightly larger file sizes
- More CPU intensive to decode
- Not ideal for very small images
Chroma Subsampling
JPEG compression can reduce color information more aggressively than brightness information, as human eyes are less sensitive to color details.
| Subsampling | Description | Quality Impact | File Size |
|---|---|---|---|
| 4:4:4 | No subsampling | Highest quality | Largest |
| 4:2:2 | Horizontal subsampling | Good quality | Medium |
| 4:2:0 | Horizontal and vertical | Standard quality | Smallest |
JPG vs. WebP: Which Should You Choose?
With WebP now being universally supported across modern browsers, anyone looking to optimize image quality in 2026 should consider it alongside traditional JPEGs.
The Verdict: A WebP image compressed to an 80% quality setting will typically yield similar visual fidelity to a JPEG at an 85% quality setting, yet the WebP file will be roughly 25% to 30% smaller. For modern web usage, WebP is arguably the superior format.
Testing and Optimization Tools
Quality Testing Process
- Start with high quality (85-90%) and work your way down
- Test at actual display size - don't judge quality at 100% zoom unless necessary
- Compare file sizes - look for the sweet spot where quality is acceptable
- Test on different devices - mobile screens may hide compression artifacts
- Consider your audience - professional sites need higher quality than casual blogs
- Monitor loading times - use tools to measure real-world performance
Common Quality Mistakes
Avoid These Quality Pitfalls
- Using maximum quality for everything: Wastes bandwidth and storage
- Over-compressing important images: Damages brand perception
- Ignoring image content: Text-heavy images need higher quality
- Not testing on mobile: Different quality needs for small screens
- Saving JPG multiple times: Each save degrades quality further
- Using JPG for graphics: PNG is better for logos and text
- Not considering progressive loading: Missing opportunity for better UX
Quality Guidelines by Industry
Photography
- Portfolio: 90-95%
- Gallery: 80-90%
- Thumbnails: 70-80%
E-commerce
- Product photos: 80-85%
- Category images: 70-80%
- Thumbnails: 60-70%
News/Blog
- Featured images: 75-85%
- Article images: 70-80%
- Thumbnails: 60-70%
Social Media
- Posts: 65-75%
- Stories: 60-70%
- Profile pics: 70-80%
Conclusion
Understanding JPG quality settings is essential for optimizing web performance while maintaining visual appeal. The key is finding the right balance for your specific use case, audience, and technical constraints.
Understanding your JPEG quality settings is the first step — compressing your images efficiently is the second.
Quality Selection Checklist:
- Consider the image's purpose and importance
- Test at actual display size and context
- Balance quality with loading speed requirements
- Account for your audience's devices and connections
- Use progressive JPEG for larger images
- Monitor real-world performance impact
Frequently Asked Questions

Written by Neemesh
Founder & Lead Developer at NoCostTools
With over 10 years of web development experience, Neemesh leads the technical development at NoCostTools and ensures all 100+ tools meet professional quality standards. He writes in-depth, data-driven guides on image optimization, compression, and web performance.